Prerequisites
- MAGeCK output files (
.vispr.yaml) - RCAC HPC account (Negishi or Bell)
Prerequisites
.vispr.yaml)Objective
Visualize the MAGeCK-VISPR results generated on the clsuter.
MAGeCK-VISPR is a comprehensive quality control, analysis, and visualization workflow for CRISPR/Cas9 screens. This guide provides a straightforward method for running the visualization component on an HPC cluster and viewing the results on your local machine.
First, open a terminal on your local computer and connect to the HPC cluster. Then, request an interactive session on a compute node.
# Connect to a Purdue RCAC HPC cluster (e.g., Negishi)ssh purdue.pete@negishi.rcac.purdue.edu# where `purdue.pete` is your username# Request an interactive node with 8 cores for 4 hours# Replace "your_account" with your specific account/allocation namesalloc -N 1 -n 8 -t 4:00:00 -A your_accountOnce the job is allocated, you’ll be automatically connected to a compute node. Take note of the node’s name (e.g., a446) as you will need it later.
You can also do echo $SLURM_JOB_NODELIST to see the node name.
Next, load the required software modules and navigate to the directory containing your MAGeCK-VISPR results.
# Load the necessary modulesml biocontainersml mageck-vispr
# Navigate to your project directorycd /path/to/your/mageck-output
# Find a port number that is not in usepython3 -c 'import socket; s=socket.socket(); s.bind(("", 0)); print(s.getsockname()[1]); s.close()'
This command will output a port number that is not currently in use. You can use this port number to run the VISPR server. In my case, it returned 45511, but yours may be different.
# Start the VISPR server using the Apptainer container# Replace port number (45511) with the port number you found in the previous stepapptainer exec /apps/biocontainers/images/quay.io_biocontainers_mageck-vispr\:0.5.6--py_0.sif \vispr server --port 45511 results/*.vispr.yamlThe server will start and indicate it’s running on a specific port, 45511. Leave this terminal running.
Above command will output something like this:
$ apptainer exec /apps/biocontainers/images/quay.io_biocontainers_mageck-vispr\:0.5.6--py_0.sif \vispr server --port 45511 results/*.yamlLoading data.  config = yaml.load(f)Starting server.
Open: go to 127.0.0.1:45511 in your browser.Note: Safari and Internet Explorer are currently unsupported.Close: hit Ctrl-C in this terminal. * Serving Flask app "vispr.server" (lazy loading) * Environment: production WARNING: This is a development server. Do not use it in a production deployment. Use a production WSGI server instead. * Debug mode: offTo view the web interface, you need to create an SSH tunnel from the compute node to your local machine.
Open a new, second terminal on your local computer and run the following command.
# Replace <node_name> with the name of the node from step 1 (e.g., a446.negishi.rcac.purdue.edu)# Replace <port> with the port number from the server output (e.g., 45511)# Replace <your_username> and <hpc_login_node> with your detailsssh -L <local-port>:localhost:<remote-port> -J <username>@<hpc-hostname-> <your_username>@<node_name>Example:
If your job is on node a446, the server is on port 45511, your username is pete, and you log into negishi.rcac.purdue.edu, the command would be:
ssh -f -N -L 8788:localhost:45511 -J pete@negishi.rcac.purdue.edu pete@a446.negishi.rcac.purdue.edu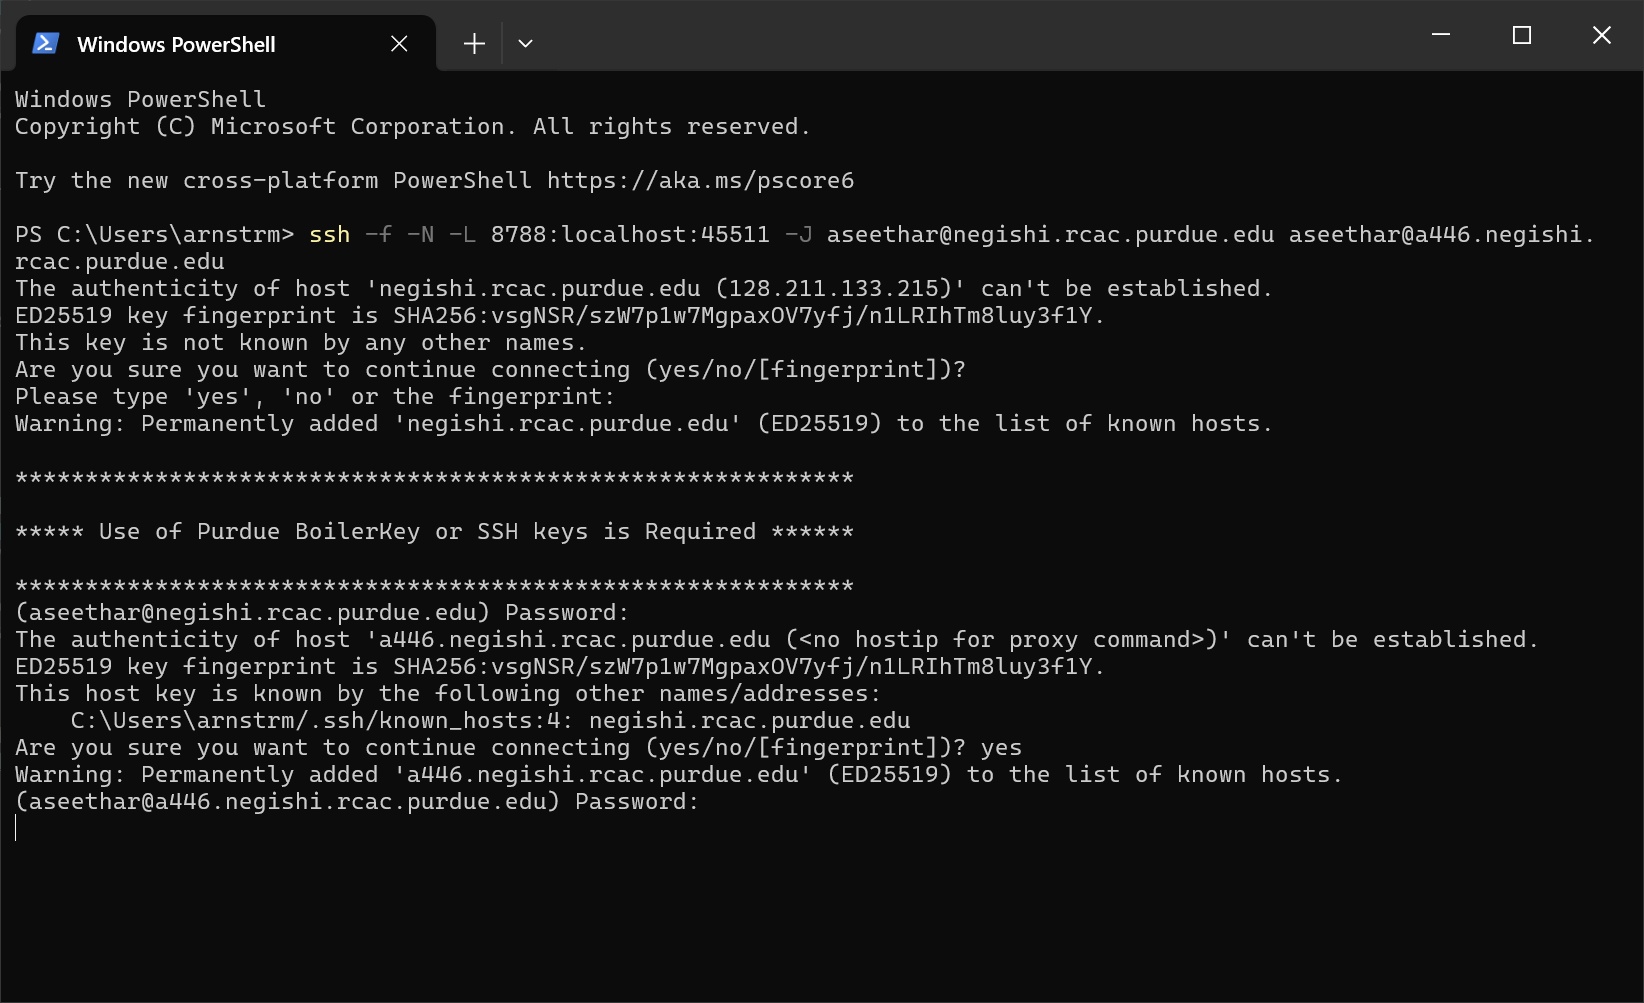
Figure 1: SSH tunnel command output (local PowerShell terminal is being used here)
The following table explains the components of the SSH command used to tunnel port 45511 through a jump host:
| Option | Description |
|---|---|
-f | Forks SSH to the background (ideal for port forwarding). |
-N | Tells SSH not to run remote commands (just tunnel). |
-L 8788:localhost:45511 | Forwards local port to the remote compute node port. |
-J pete@negishi.rcac.purdue.edu | Jump host (Negishi login node). |
pete@a446.negishi.rcac.purdue.edu | Target compute node running the server. |
After successfully establishing the SSH tunnel, you can now access the VISPR web interface from your local machine.
Open a browser and go to:
http://localhost:8788You should now see the interactive VISPR dashboard rendered locally!
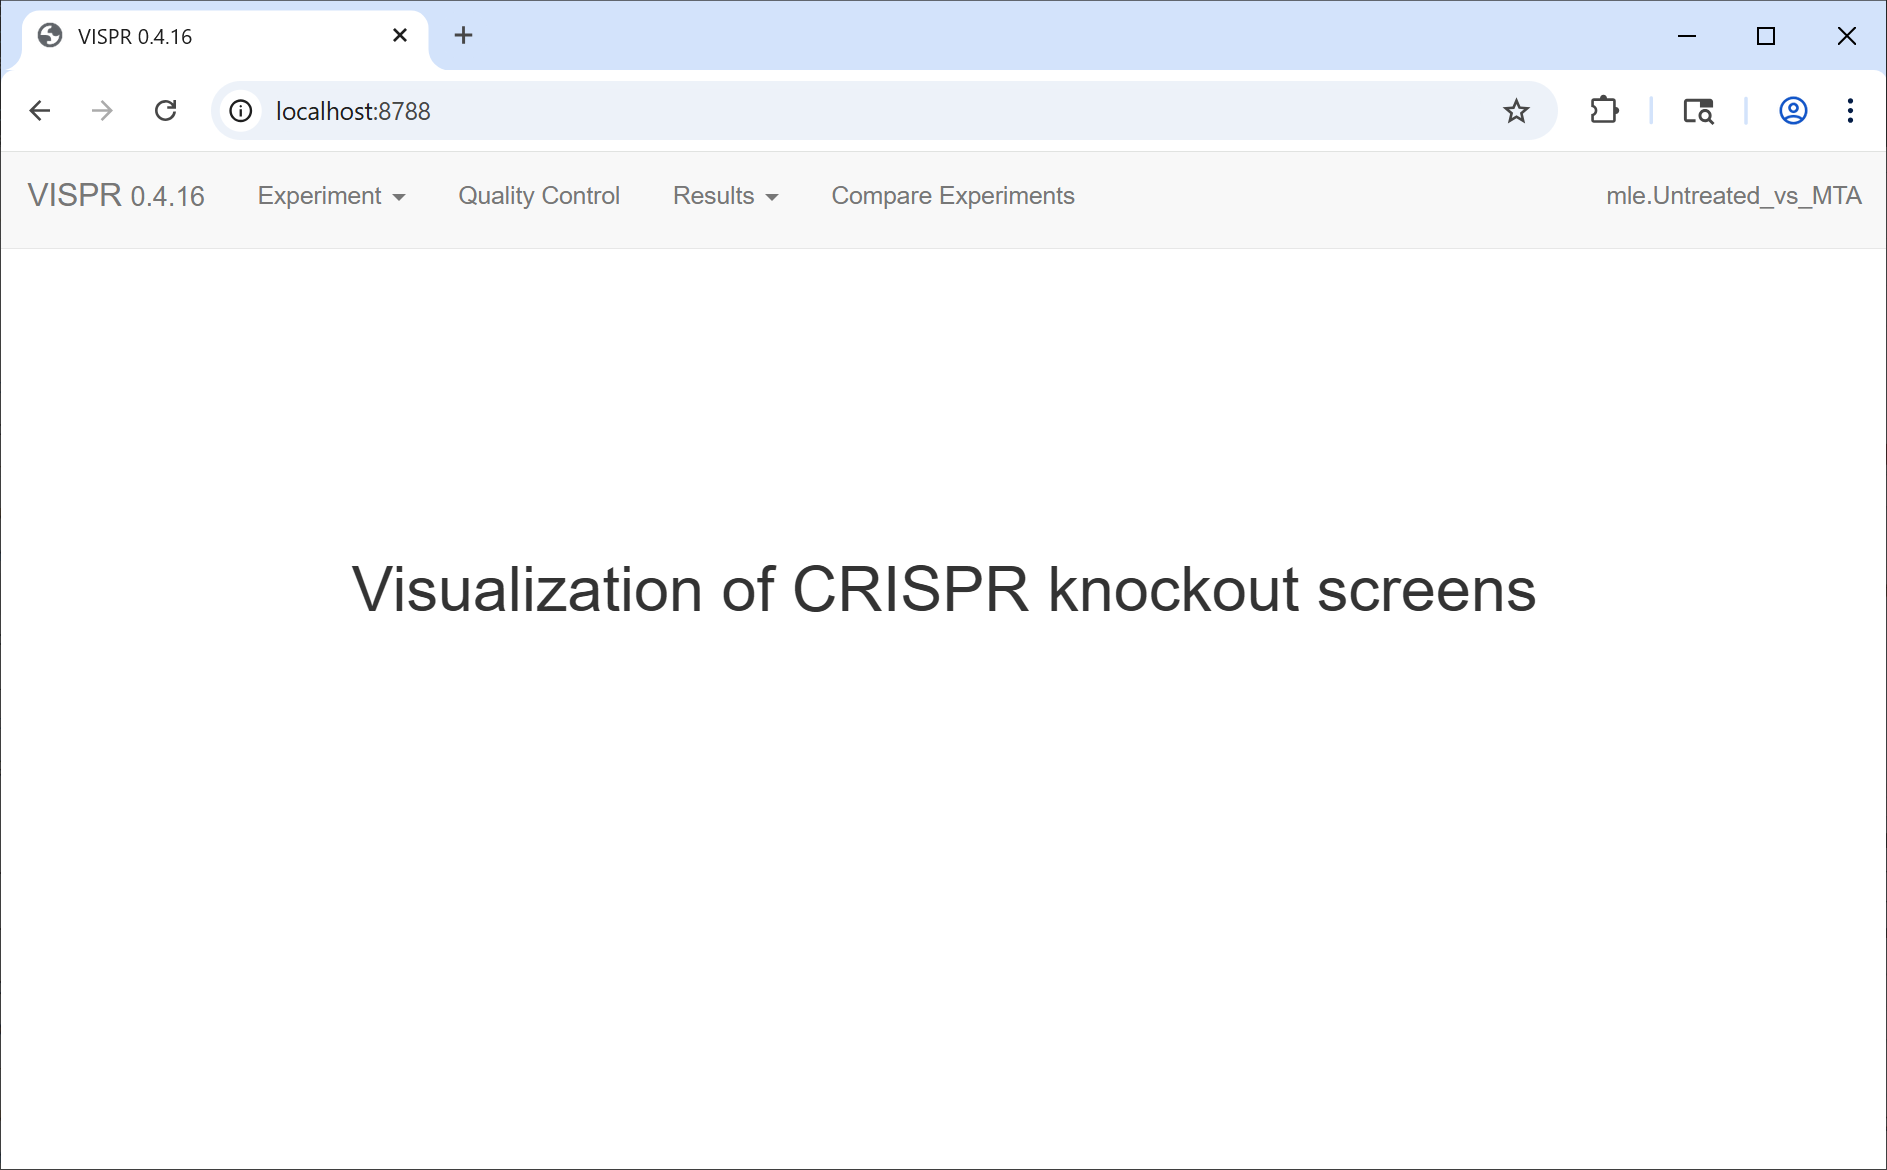 Figure 2: VISPR interface loaded in a web browser